Bunny - Body
Making of Bunny puppet

Finished bunny sculpture


After full size bunny puppet sculpture is made, its time to do two part mould.


When thats done, now its time to experiment with what to use and how it will make bunny look like. I did some tests with latex to see if that could work. I did it in few different colours, but then decided on final. Grey, black and brown.
Test I did with pink latex didn't really worked when I tried to animate it with black background, it was too dark and absorbed light. Thats why cream, greyish option was better.


Before doing final cast of latex I did some tests of colours. What paints to mixi in with latex and how much to keep colour consistent.

This test showed how more less it will look like.


I added some wire sheet to make some areas stronger. Then covered them with another layer of latex.


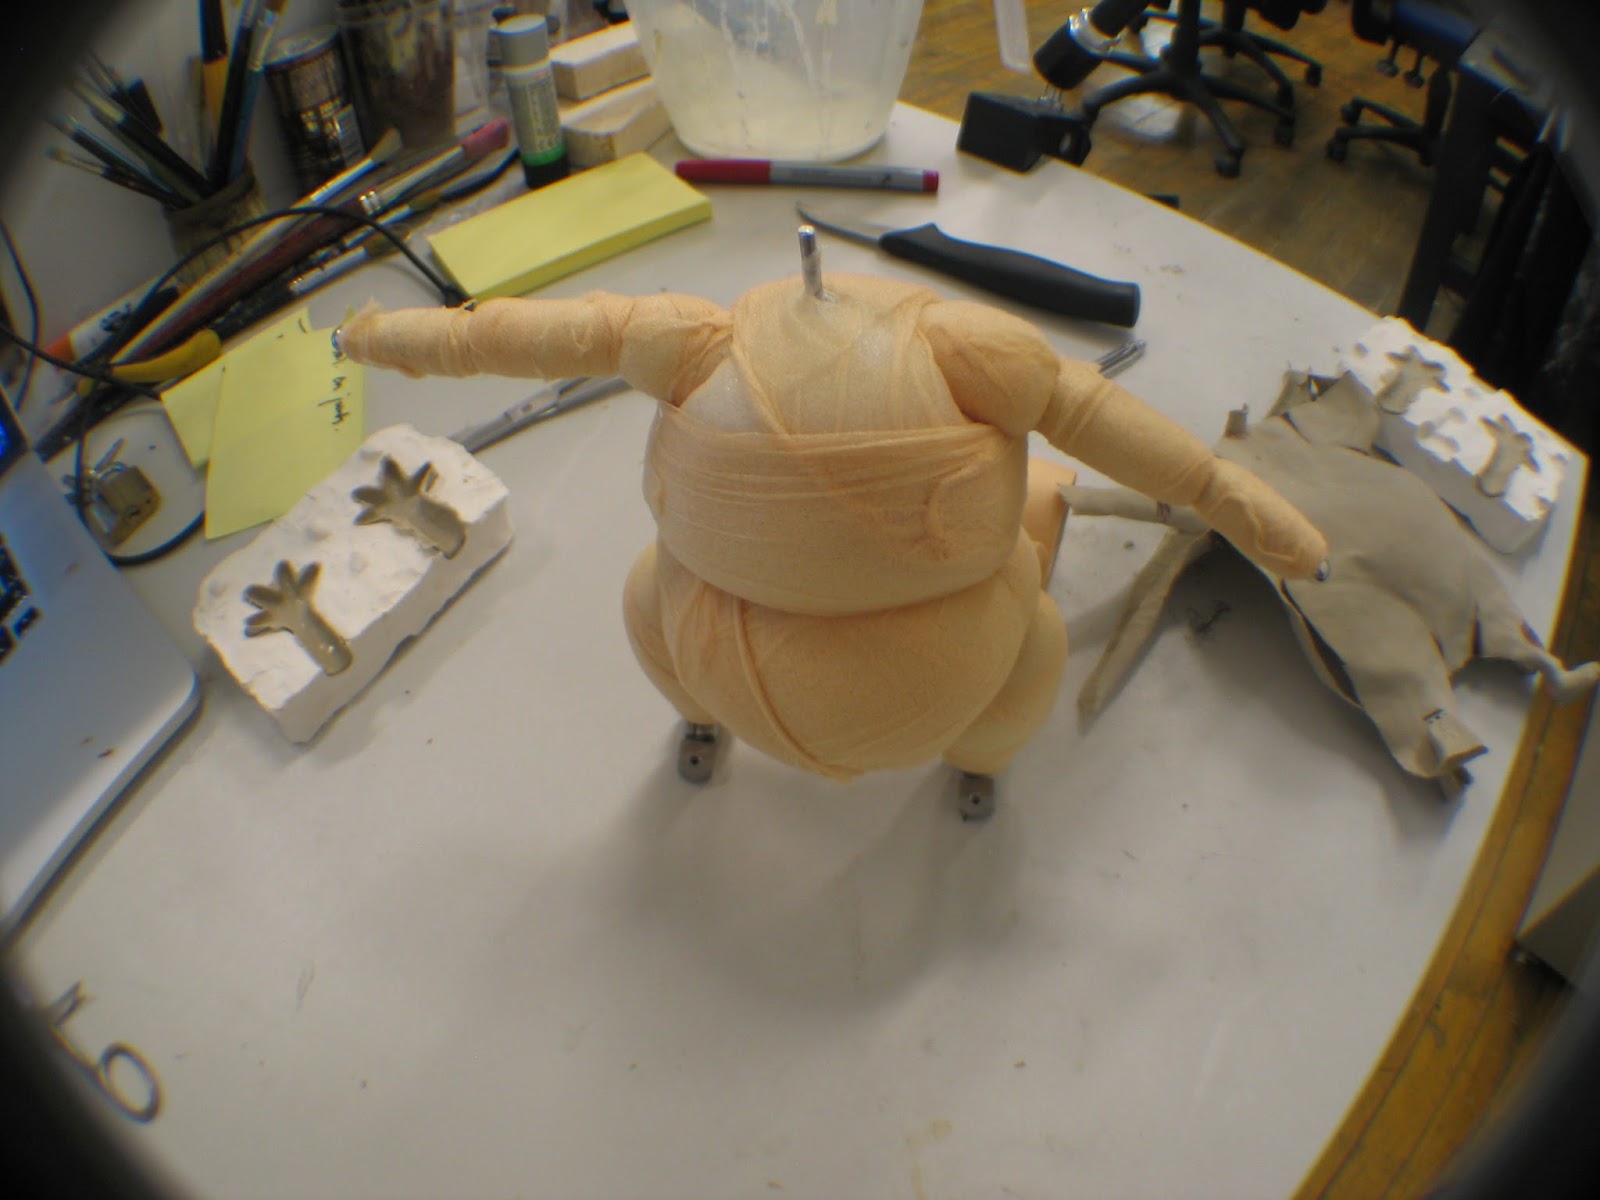
Before my animation armature arrived, I did quick test with self made wire armature and bulked it up with sponge.
Assembling the armature

Before I was able to cut it to size, I made blue print of the puppet. Two sided mould I made earlier helped with getting dimensions right.


After armature was assembled together its time to bulk it up. Again two sided mould helped with it. From time to time I was using it as reference.


After attaching both sides to armature it did some animation tests. I knew there will be some problems with using this material for body. Latex worked really well for head of the bunny but for body it wasn't looking good. Creases are too noticeable.

So it tried to use plasticine instead, also did some tests with mix of sealant and corn flour, but I decided not to use it as it was breaking in parts where bent a lot. I still might use it for just the belly, chest parts and rest plasticine.


Comments
Post a Comment